Texture and paint. This is new construction so the equipment and techniques I used will be different than those for a repair. I'll discuss those differences where they come up. I invite anyone who has more experience and knowledge than me to chime in here or correct me where I get something wrong. Looking at you here Car Guy.
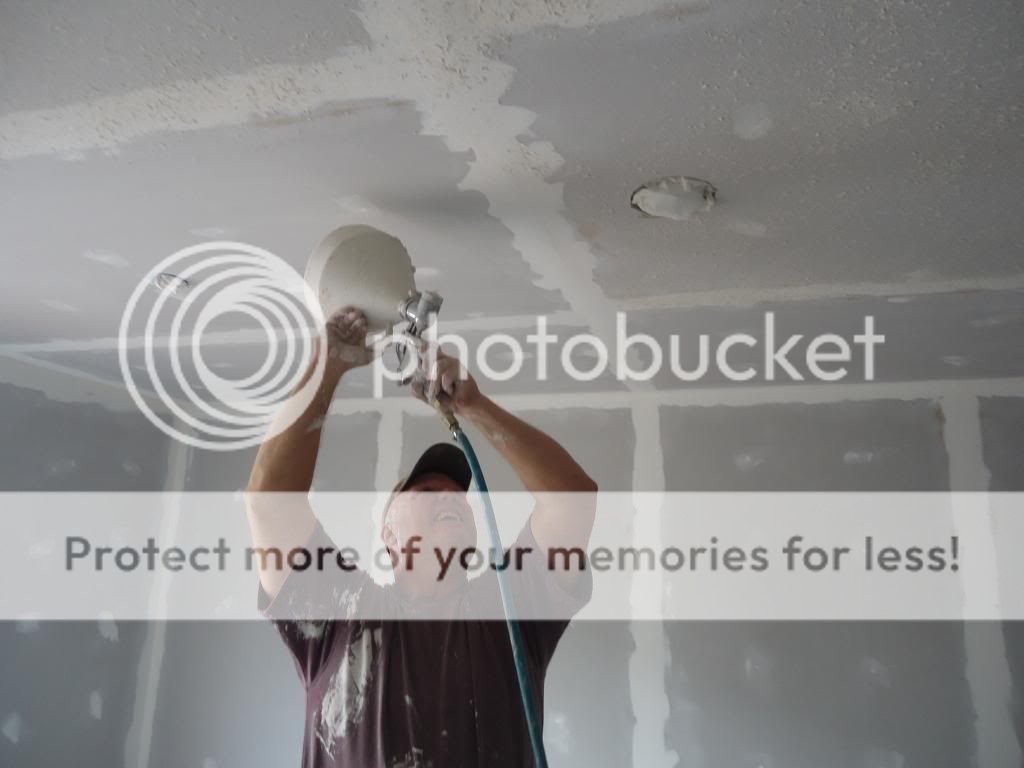
I use a compressor and spray gun to put on texture if the job is bigger than a small repair. Again, I don't have a gun preference this is just the one they had when I bought it a few years ago. It seems to work well. It has changeable apertures and an adjustable feed. If you're doing small repair the canned texture does work fairly well. Just pay strict attention to the instructions. Here's an example of where I used it on the California house spare bedroom. I know there are some out there who can apply it by flicking it on with a paint brush but that's a technique beyond my talents at present.
The screw adjuster at the back of the gun allows me to control how much texture is getting fed in so I can dial in the density of the spray.
Texture is not mud exactly. I think it has more to do with consistency than anything else as I've thinned down mud and sprayed it as texture but I recommend using texture where you can.
It tends to float the water to the top during storage so give it a good stir prior to using.
Then it's time to apply. There's really no finesse here, just load up the hopper and commence to spraying. I watch carefully to make sure I'm getting even coverage with as little glop as possible.
You'll end up with something like this. For us this was the final product, a pebble finish. Lu and I both like the look and it's easier to do.
But if you want a knock down look there's another step. First, you'll need a knock down knife. I like rubber 6 inch. The rubber gives me fewer lines and the shorter size gives me better control. YMMV. Clean off your knife after every pass, especially if you're getting lines in the knockdown.
Ok, If you're doing knockdown this is where it gets tricky. You'll have to decide what size you want. I refer to them as large curd and small curd. If you're matching an existing finish you'll want to see what's there and go with the same. If it's new construction you'll have to decide on the look you want. That's important because knockdown texture is about timing as much as anything else. Large curd requires a wetter texture, small drier. Drier is easier to work, wetter harder and leaves more lines. Spray on your texture to a small area, or even better a test patch on a piece of discarded drywall, and then check it frequently until it gets to the desired moisture content. Check the elapsed time. That's what you have to work with. I did this very small patch of knockdown in an area of the closet that will be covered by stack able storage. This was about an hour after application and is an example of small curd knockdown. It's actually a little too small. I'd move up my timing by about 15 minutes or so if we were doing knockdown. If I wanted large curd it'd be about 30 minutes (or even sooner) but I'd check it very frequently to make sure. Monkey Wrangler, I hope that helps.
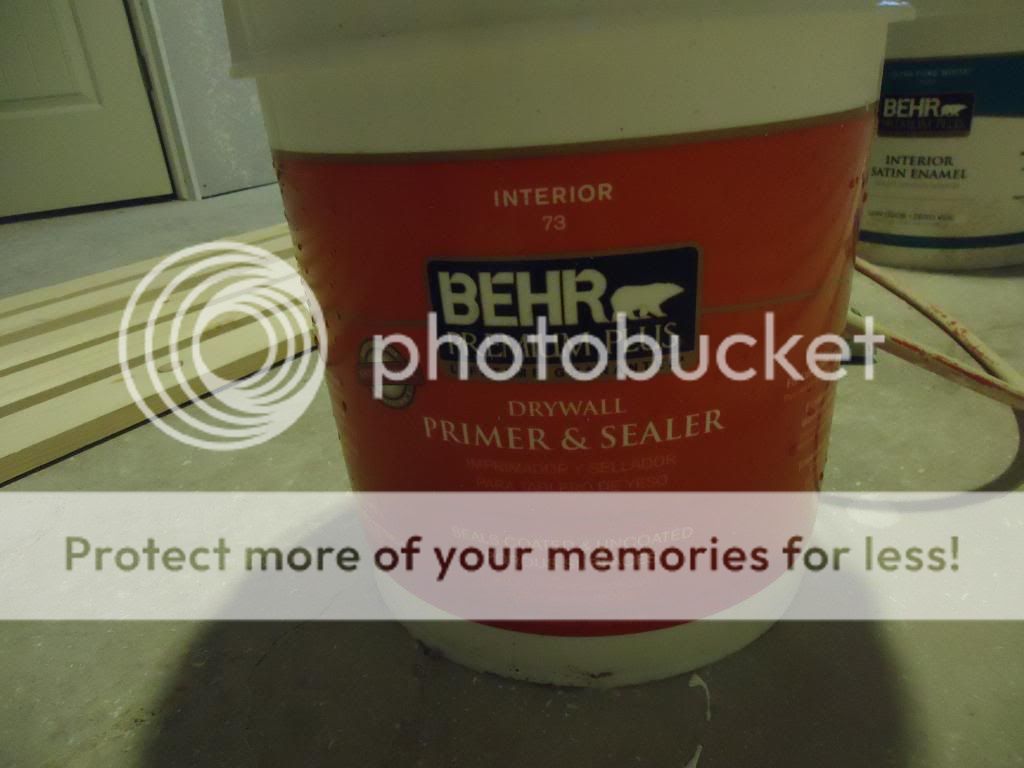
After the texture dried it was time to paint. New drywall will suck in paint like a dry sponge. Best to bite the bullet and use a good primer designed to prime and seal new drywall.
One coat of primer and then paint.
We have a sprayer but it chose this moment to fail so Lu ended up rolling the entire room. 3 coats, one primer and two paint. 2 paint coats were necessary primarily because of the texture finish we chose. That pebble look tends to leave some voids that are hard to see. Mom In Law came by to help which is good since I hate painting and will only do it at the point of a gun. Luckily Lu likes it and has completely consumed the job of our paint contractor.
One of her tricks is to lay out the trim and paint it prior to installation. Or even cutting to fit. She says it's way easier to patch seams and do general touch up once it's in as opposed to cutting in the baseboards after they're installed over new carpeting. Hey, I'm just the carpenter here but it seems to work really well.
You will find stuff you screwed up. Don't get bent out of shape about it. Just repair them and forget about it.
So. The room is actually finished. Paint was done on Friday and we spent the weekend doing all the little stuff. Carpet went in on Monday and I put in the baseboards and trim just after they were done. Then it was putting together the closet storage system and more fiddly stuff. I ended up drywalling the hallway just because I hate leaving bare stud walls visible. We moved in last night but I'm going to make you wait one more day to show you the final product. I think it turned out really well. I know that Lu is one happy woman and that's what really matters to me. A new bedroom and a happy wife? Doesn't get any better than that.
Six
We purchased every product we used and I showed I this post. No one compensated us or even asked for a review. This is just stuff we've used before and tend to like. YMMV.


7 comments:
Good looking stuff Six!
Once more, I'm impressed by the quality of your work. I saw a lot of less-than-acceptable homeowner repairs in my years as an inspector.
Good job, folks!
Thanks for the texture lessons, Six. Why do you wait to knock down the texture? I thought it was supposed to be done right after spraying on... We will be using the canned texture stuff for the patching we need to do. With my luck it will dry completely before we knock it down, and I will have to use a sander!
MW
Thanks Keads!
Thank you Rev. After what I've found in this place I can only imagine and sympathize with what you must have seen.
Whenever I try and knockdown right after applying the texture I always end up with a huge mess MW. Too wet and it tends to smear and you end up with a lot of coverage and little actual 'texture'. It also leaves lines from the edge of the knockdown knife that are very hard to get out. That's why I recommend testing a small patch or even better a cast off piece of drywall. That way you'll know exactly how long you have to wait to get the result you want. It might even be that you can do knockdown right after applying the texture but it's best to test first. If you want to talk some more about it e-mail me and I'll send you my cell phone number.
Lookin' good! Happy Thanksgiving to you and Lu. :)
You and Lu make a great team. Just about did us in trying to get the texture the way we wanted.
Thanks Lois and the same to you and yours!
Thanks Brighid. Us too. Man, I hate drywall!
Post a Comment