'The true Soldier fights not because he hates what is in front of him, but because He loves what is behind him.' -G. K. Chesterton
Showing posts with label master bedroom. Show all posts

19 May 2014

Master Bedroom Remodel - Bathrom Shower - Final

It took a while but the master bathroom is finally finished (mostly) which brings the master bedroom remodel to a merciful close. It's been a long haul, interrupted from time to time by events better forgotten. Lu loves it and in the end that was most important to me. I gave her a free hand in selecting materials, finishes, accoutrements, and layout. I think I told her to indulge herself more than once.

When I put in the drain plumbing I was planning for a standard sized pre-made shower pan. That didn't work out. The drain ended up a bit offset so I had to come up with a new plan. That was to make my own shower pan and it's a pain in the toockus. I used a 6 mil (I think it was) plastic liner for my water barrier. You can buy it in pre-cut sizes precisely for this use. Over that went a fairly dry mixed mortar as a base for tile and to bring the floor up to the level of the drain. I went just over a quarter inch shy of the drain lip to allow for the tile and thinset. You can see the edges of the vinyl liner against the walls. I later trimmed it to 2 inches above the base before installing the wall tile. The corners are the tough part. They take a lot of fussing to get them correct and to lay flat. PITA. The vinyl is my water barrier if we have leaks and the mortar acts as the base for the thinset to stick to. The base must slope from the walls and threshold toward the drain for water proper runoff. Mark your walls before you start laying mortar.

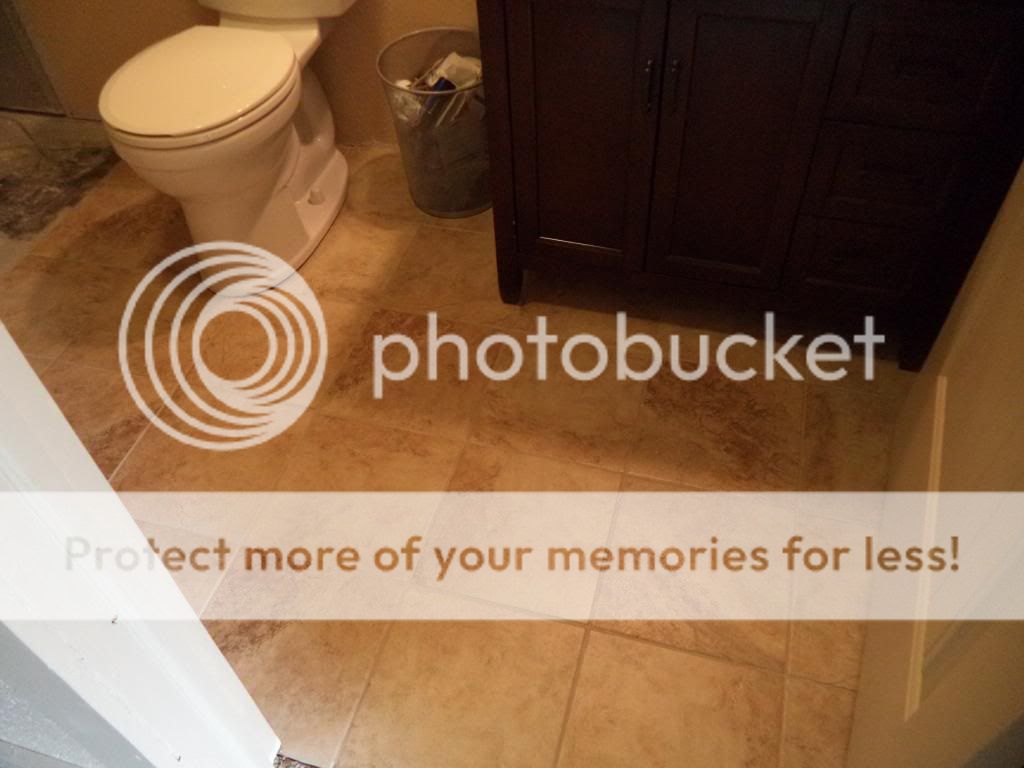
We went with a 2 inch floor tile over the pan. That brings the floor level up to the edge of the drain. I like the tile but it is spendy at 9 bucks per square foot. Luckily we didn't need too much. It's really kinda necessary on shower floors. Larger tiles just get too slick from soap and shampoo. The smaller tiles and more grout lines give better traction.

  With the pan in and the floor tiles laid the walls were simple. We went with inset shampoo shelves and a nice trim pattern at the top of the walls. I had to make the threshold by hand.


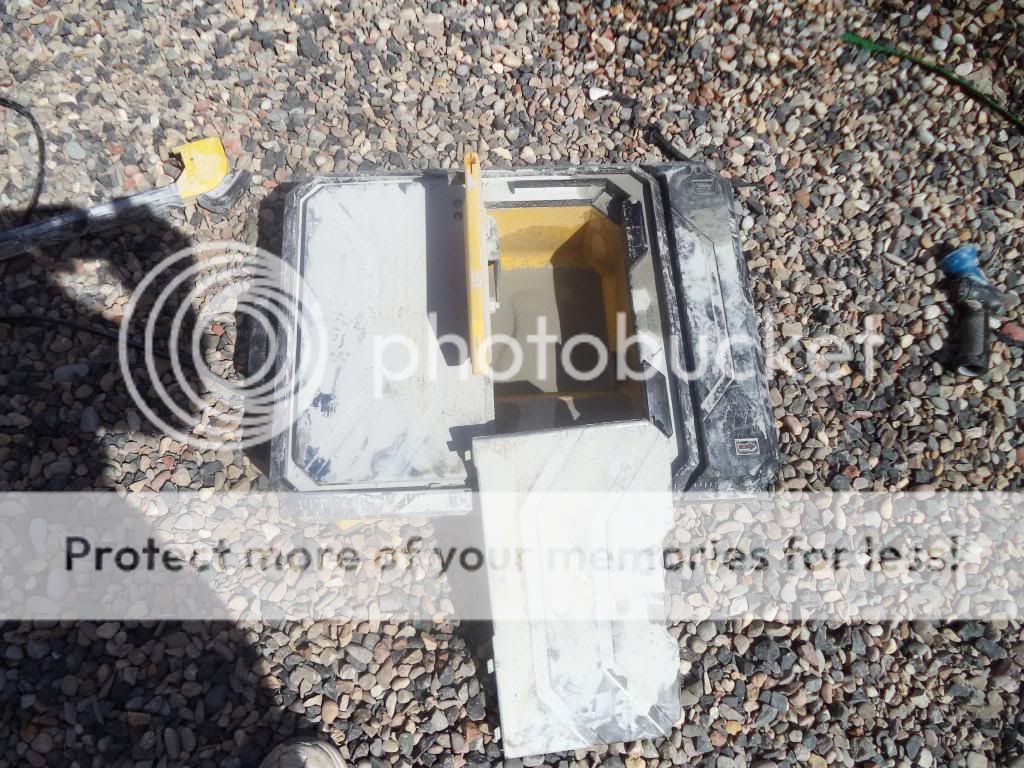
A quick note about tools. I'm a big believer in never buying a tool twice. Buy quality once and you're way ahead of the game. I broke that rule on a tile saw for this job. Car Guy built a nice saw a few years ago that I 'inherited'. Well, it gave up the ghost during the first bathroom remodel and I needed something for this one. I'm nearly done with tile work (knock wood) so I couldn't see dropping 4 or 5 hundred on an expensive saw so I bought this one for 90 bucks.

It's the store brand at one of the big box home improvement stores (rhymes with Dome Hepot). Instead of a constant water feed the blade runs through water in a trough in the base. The surface extends for large pieces and the fence is adjustable. It even comes with an adequate blade. It cut very well. I had absolutely no issues with it. I'd never buy it for commercial or even heavy DIY use but for occasional or modest cutting needs it's the bomb. I don't know how it'll hold up long term but at this point I'm very happy with it. It's also very light and pretty small. It fits perfectly on a shelf for easy storage. Recommended as long as you understand it's limitations and don't treat it like it's an industrial saw.

Lu grouting. She's a keeper that one. She laid all the tile and did all the grout. I did the cutting and water hauling. Muscle and Skill. Fire and Ice. Leather and Lace. I'd hire her out but I'm too greedy. I'm keeping her all for myself.

Grouted with the shower curtain installed. Lu has since put up a second curtain on the left. You can barely see the shower drain. I'm loving this shower.

And with various toiletries so you can see how those shelves work. Looks nice, no? And it works as expected. The twin shower heads means we can use the shower together (heh heh) and the size gives us room to spare. At 3+x5 it's the largest shower we've ever had and feels like pure luxury.

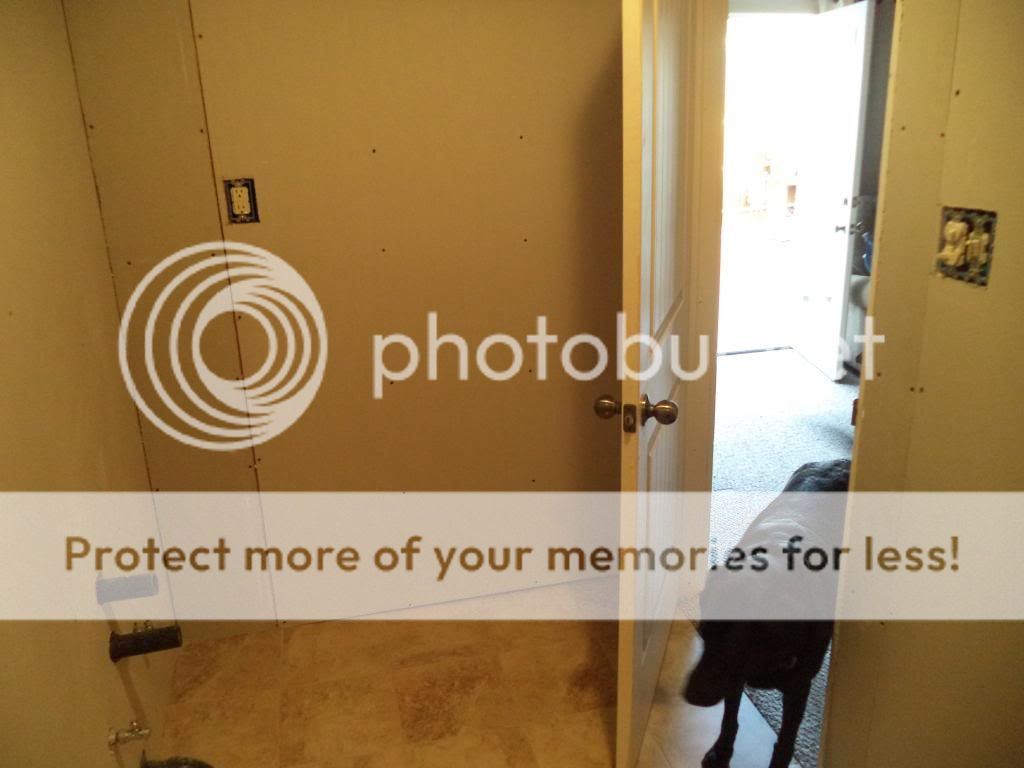
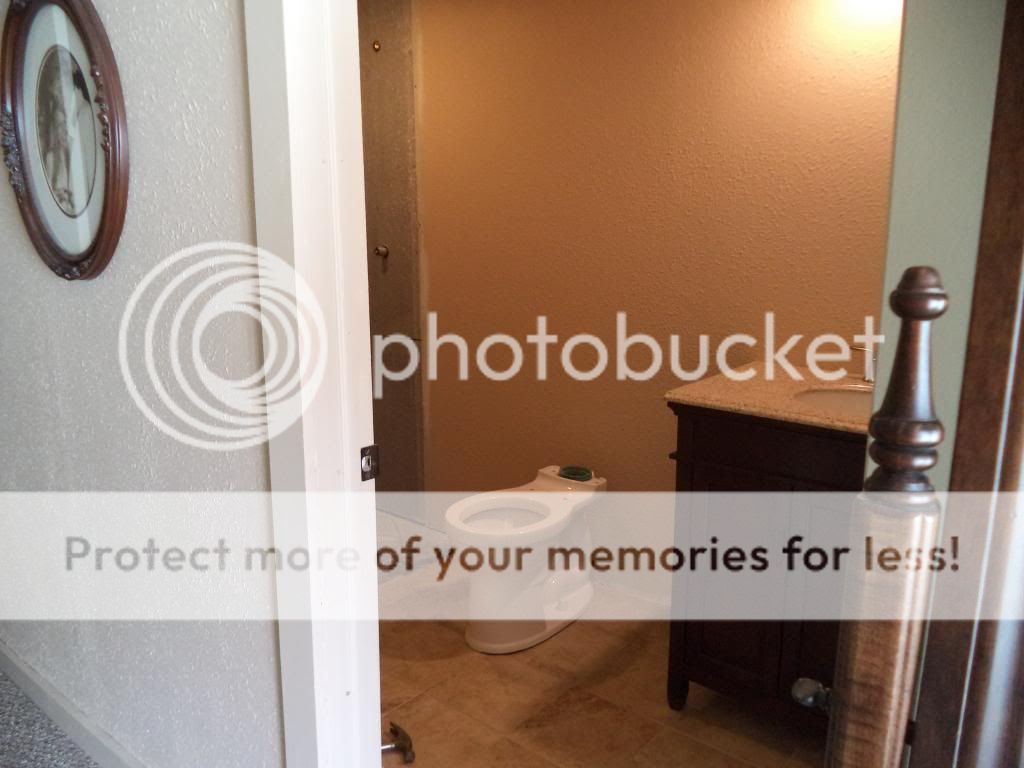
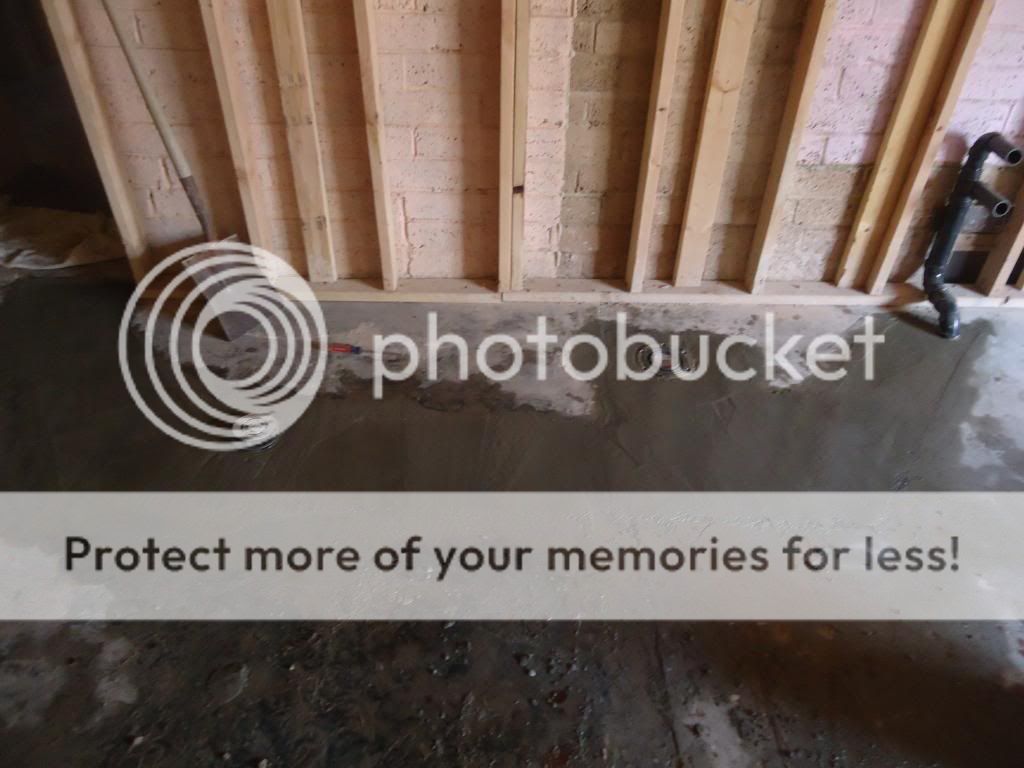
We are a very long way from this. On the left is the shower drain. In the center is the toilet and the right is the vanity. Man, this whole thing was a lot of work. Dreams and plans become reality.

I still have to hang some accoutrements for towels and what not but for all intents and purposes it's done. Final totals on the entire master bedroom suite remodel was $6600 of which $2000 was to correct structural issues. The bathroom ate up about $2500. All in all not bad considering how much we opened up the space and improved our livability. The room is much larger, we added in a walk in closet and a 10x5 bathroom where none had existed before. The house has gone from 2 bedrooms, 1 bathroom to 4 bedrooms and 2 bathrooms. That second bathroom was essential, especially considering the grandkids are going to be spending considerable time here every Summer (Thanks DO!). And that french door has been wonderful.

This remodel was a tough project, I won't lie. It took time, effort, sweat, money and not a little pain. But the end result is well worth the investment. $6600 bucks is nothing in the remodel world. This could have easily run into the tens of thousands to have done professionally. It may not be exactly professional quality but it's very good and should last us a lifetime. Lu is happy and in the end that is all I really care about. This is well within the reach of most DIYers. Just roll up your sleeves and jump in with both feet. If we can do it anyone can.

We have a little concrete to pour before the kids arrive in June but the big projects are done for the Summer. We'll take a few months off and then begin the next phase of the house remodel; the spare bedroom, living room and kitchen. But that's for another day. For now we'll sigh in relief and enjoy our blessings and the fruits of our labors.
Six


06 March 2014

Bathroom Update

We're now up to a half bath. The bathroom is complete except for the shower and some trim but it's usable as is right now. Took long enough.

I went with Pex for the water supply lines. Easy to use, reasonable cost and waaaay easier than sweating copper. When you're running complex runs like I did to multiple outlets (shower, vanity sink and toilet) make sure you keep track of hot and cold lines. I marked all the cold lines with black electrical tape.

Even my supply faucets are Pex. Pex is fastened to studs with plastic, NOT metal.

From there we decided to put down the tile on the main floor, right up to the edge of where the shower threshold will go. We have a system.Lu hates to cut tile so she lays and I do all the cutting and fitting.

Grout and the tile is ready. You can see the shower area there. I have to build my own shower pan due to the odd placement of the drain. At the edge of that tile is where the threshold will go. The shower install will be a post in it's own self.

The finished tile floor.

The drywall actually went in pretty easy. I'm getting the hang of this stuff and all my cuts were right on first time. I'm so proud.

Lu mudded and taped and I hit everything with a good dose of texture.

I ran into a snag and I'm just going to pass this along as information that may or may not be useful to you. I was messing around with the drywall around the recessed light over the shower when I realized the pot light housing was hot. Really, really hot. I checked the others and they were all cool to the touch but that one was so hot I couldn't touch it with bare fingers. I discovered it was the light bulb. This one.
I checked the rest of the house and we had several others in various lamps. All felt warmer to the touch than other 60W bulbs we had. I took this one out of the pot light fixture, put in something cooler and all is well. It's just such a weird thing. I'm not accusing anyone of putting out a bad product but my experience with this bulb was exceedingly negative. It's a real fire hazard in recessed lighting fixtures, especially those in contact with insulation. Word to the wise.

Lu applied one coat of drywall covering primer and two coats of paint and it was time for some installation. Finally.

The vanity and sink. Do yourself a favor and do as much installation and hookups on the faucet as you can before you install the sink on the vanity. It'll save your back. You'll still have to crawl in there for some finals but it's much easier.

And the toilet. That' an American Standard, Champion 4 Max. They claim it'll flush a bucket of golf balls. Not that I ever crap golf balls but you never know. Better safe than sorry is my motto.

It has one of those lids that lets itself down gradually. Angus thought it was alive or magic. Either way it is something that clearly cannot be trusted.

A wide view of the vanity and toilet install from the bedroom. We can now leave that door open without having to look at construction in progress.

Put in the mirror and back splash and we're done with this portion of the build.


Lu chose a vanity with feet. I like the way you can see the tile run under it.

Here's some perspective. This is the layout I did for the bathroom oh so many months ago. After the demo and structural repair. Shower on the left, vanity on the right and X marks the toilet. It went in almost exactly as I laid it out. This is a bathroom put in where none had ever existed before. On a concrete slab floor. It was an incredible amount of work but excessively satisfying to have completed. Well, except for the shower but that's mostly just finish work at this point.

Simple, clean and well built. I'm happy but mostly because Lu is happy. It's my job in life to make her smile and I did that today. Life is good.

Next up will be tackling that shower. I have to make a custom pan from vinyl sheet, install a threshold, put in a base to get the floor up to the drain level and then tile everything. Should be in by next week. Unless I get itchy and spend entirely too much time at the range. But at least we can now wash up and er, drop some golf balls from the master bedroom.

This particular project is very nearly done. If not the rest of the house. Sigh.
Six

27 November 2013

MB Remodel Pt. X

Texture and paint. This is new construction so the equipment and techniques I used will be different than those for a repair. I'll discuss those differences where they come up. I invite anyone who has more experience and knowledge than me to chime in here or correct me where I get something wrong. Looking at you here Car Guy.

I use a compressor and spray gun to put on texture if the job is bigger than a small repair. Again, I don't have a gun preference this is just the one they had when I bought it a few years ago. It seems to work well. It has changeable apertures and an adjustable feed. If you're doing small repair the canned texture does work fairly well. Just pay strict attention to the instructions. Here's an example of where I used it on the California house spare bedroom. I know there are some out there who can apply it by flicking it on with a paint brush but that's a technique beyond my talents at present.

The screw adjuster at the back of the gun allows me to control how much texture is getting fed in so I can dial in the density of the spray.

Texture is not mud exactly. I think it has more to do with consistency than anything else as I've thinned down mud and sprayed it as texture but I recommend using texture where you can.

It tends to float the water to the top during storage so give it a good stir prior to using.

Then it's time to apply. There's really no finesse here, just load up the hopper and commence to spraying. I watch carefully to make sure I'm getting even coverage with as little glop as possible.

You'll end up with something like this. For us this was the final product, a pebble finish. Lu and I both like the look and it's easier to do.

But if you want a knock down look there's another step. First, you'll need a knock down knife. I like rubber 6 inch. The rubber gives me fewer lines and the shorter size gives me better control. YMMV. Clean off your knife after every pass, especially if you're getting lines in the knockdown.

Ok, If you're doing knockdown  this is where it gets tricky. You'll have to decide what size you want. I refer to them as large curd and small curd. If you're matching an existing finish you'll want to see what's there and go with the same. If it's new construction you'll have to decide on the look you want. That's important because knockdown texture is about timing as much as anything else. Large curd requires a wetter texture, small drier. Drier is easier to work, wetter harder and leaves more lines. Spray on your texture to a small area, or even better a test patch on a piece of discarded drywall, and then check it frequently until it gets to the desired moisture content. Check the elapsed time. That's what you have to work with. I did this very small patch of knockdown in an area of the closet that will be covered by stack able storage. This was about an hour after application and is an example of small curd knockdown. It's actually a little too small. I'd move up my timing by about 15 minutes or so if we were doing knockdown. If I wanted large curd it'd be about 30 minutes (or even sooner) but I'd check it very frequently to make sure. Monkey Wrangler, I hope that helps.

After the texture dried it was time to paint. New drywall will suck in paint like a dry sponge. Best to bite the bullet and use a good primer designed to prime and seal new drywall.

One coat of primer and then paint.

We have a sprayer but it chose this moment to fail so Lu ended up rolling the entire room. 3 coats, one primer and two paint. 2 paint coats were necessary primarily because of the texture finish we chose. That pebble look tends to leave some voids that are hard to see. Mom In Law came by to help which is good since I hate painting and will only do it at the point of a gun. Luckily Lu likes it and has completely consumed the job of our paint contractor.

One of her tricks is to lay out the trim and paint it prior to installation. Or even cutting to fit. She says it's way easier to patch seams and do general touch up once it's in as opposed to cutting in the baseboards after they're installed over new carpeting. Hey, I'm just the carpenter here but it seems to work really well.

You will find stuff you screwed up. Don't get bent out of shape about it. Just repair them and forget about it.

So. The room is actually finished. Paint was done on Friday and we spent the weekend doing all the little stuff. Carpet went in on Monday and I put in the baseboards and trim just after they were done. Then it was putting together the closet storage system and more fiddly stuff. I ended up drywalling the hallway just because I hate leaving bare stud walls visible. We moved in last night but I'm going to make you wait one more day to show you the final product. I think it turned out really well. I know that Lu is one happy woman and that's what really matters to me. A new bedroom and a happy wife? Doesn't get any better than that.

Six

We purchased every product we used and I showed I this post. No one compensated us or even asked for a review. This is just stuff we've used before and tend to like. YMMV.

20 November 2013

MB Remodel Part IX - Drywall

I've said many time how much I hate drywall but there are a few things you can do to make it a bit easier. The first thing for me is to remember that mud and tape cover a myriad of sins. There's nothing worse than putting up a panel, find that it's a little too big and then spending 15 minutes trimming it to fit. I tend to cut everything a bit small and then rely on Lu's finishing skills to make it all fit and look good. Works for us.

This may be known to many of you but it was new to me. When cutting out openings for outlets and switches I've always relied on measuring and cutting prior to putting the panel against the wall with mixed results. It's awful easy to make a mistake here and either cutting too big or too small. Not to mention just plain missing altogether and risking ruining a panel of sheetrock. With the pot lights I had no choice but on the outlets and switch boxes I tried a new (to me) tool.

That's the Handy Mark. It makes marking the holes much easier and surer.

Here's how it works. It fits over and into the box. It has 6 small metal studs that stick out. Put the panel into place and press it hard against the box. The tool is supposed to be used on an empty box but I modified it to fit these that already have the outlet installed. You can see the cuts in the center if you look closely.

When you take the panel down the Handy Mark is stuck in the back side.

Remove the tool and you'll see 6 small marks.

Connect the dots and there's your outlet/switch box cutout.I added a little to the top and bottom to allow for the wings on the top and bottom of the outlets and switches.

I like my Dremel with a cutoff bit for this. Do a plunge to get started and then just follow your lines.

Perfect cutouts every time. It works for both outlet and single gang switch boxes. Nifty. I like this tool very much. It's now a permanent addition to my drywall toolbox. Works like stink.

Lu and I try to divide up the work where we can. I hung while she started mudding and taping. To that end I find panel carries very useful for moving individual sheets of drywall by myself. Hook them on and you can easily carry panels to wherever you need them with no assistance. Thanks to Car guy for giving me these. He swears he's done with big drywall jobs.

It was a very long day but by about 7:30 last night the drywall was finished. Starting to look like an actual room. The ceilings are hardest. I can hang walls alone but it took both of us to get those ceiling panels up.

The walk in closet.

Since there won't be a door here we went with a bull nose to finish the corners. It's a pain to put up but it'll look great when finished.

This morning Lu did a second coat of mud on all the joints while I did some clean up. Today we're waiting for that to dry, then we'll get in there and sand everything smooth. By tomorrow we'll be ready for texture. We went down today and bought 7 gallons of texture, 5 of primer and 5 of paint. When you're painting over new drywall make sure you prime with something made for sealing that new surface or you'll risk the paint soaking in and having to do a second coat. Primer is a lot less expensive than paint.

We're finally in the last stages of this remodel which is a good thing since carpet is scheduled for installation on Monday. That gives us 5 days (counting today) to finish everything except the trim. We have the trim and Lu will paint it when she does the room. Then we'll set it aside until the carpet is in. We'll cut the painted trim to fit and put it in. By Tuesday we expect to be moving in.

Getting so close. More tomorrow.

Six

Disclaimer. I paid for the Handy Mark out of my own wallet. No one asked me to try it or offered me any incentives. In fact no one even suggested it. I just happened to spot it on the shelf at the Big Box store and decided to give it a try. Most likely nary a soul on Earth even cares that I did. So there.