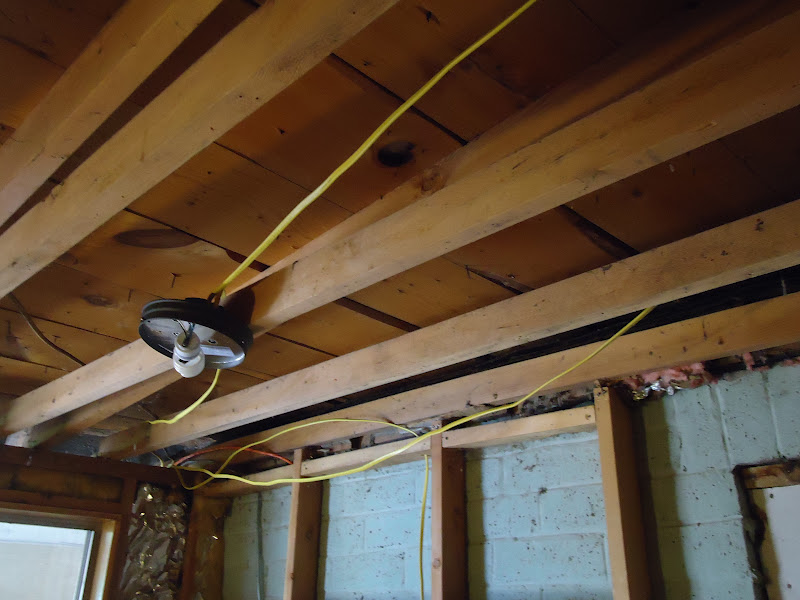
Let me do a little stage setting here. This is a picture of the plumbing juncture I had to work with. Click to enlarge if you're interested.


The old water softener is...well, old. Really, really old.


For anyone who regularly does plumbing Pex and Shark Bites (also called Gator Bites) are nothing new. For those who don't let me talk just a little about alternate means of plumbing. Pex is a little like a more durable and flexible version of PVC. It's really easy to work with and connects to other Pex, copper or PVC type materials with push in connectors called Shark Bites or Gator bites. Car Guy turned me on to the stuff and I love it. I will never sweat copper again. Here's a comparison.
On the left is copper and common screw in connectors (we'll leave sweating aside for the moment). On the right is a short length of white 1/2 inch Pex with some Shark Bites and a removal tool. That little orange crescent.

Here's a look inside a 3/4 inch Shark bite.

It's really simple to make a connection. When you've got the run all laid out and cut to length simply push one end of the Pex into the Shark Bite and you're connected. There are in line connectors, elbows and threaded fittings so you can screw the line into a device or attach something. Like Water Softeners and valves as we will see.

You can also remove the fittings easily with the removal tool. Just slide it on, compress the black gasket you can just see in this photo and pull on the pipe.


Shark Bites and Gator Bites. And yes, I paid for them all. No, I'm not getting anything in return from anybody to talk about them. Yes, I am easily and cheaply bribe-able for anyone with motivation and even shallow pockets. Take that FCC. When properly installed they're as permanent as sweated copper or screw in fittings and are code pretty much everywhere I know about and simplify plumbing projects by a factor of about a million. It's literally plug and play. Let's see how that transfers to an actual project shall we?

First step. Shut off the water at the meter. Important in that when you cut water pipes without that step things will get messy fast. Not that I'd know. I'm just guessing. Once done I cut all the pipes running to and from the old water softener. and then disconnected any excessive piping to the supply lines. I used Shark Bite connectors (threaded at one end to screw into the galvanized pipes) at the two 3/4 inch supply lines (from the street and to the house). Those pipes will go to the new water softener. I took the cold water washing machine supply from a T at the top of the softener output and found a very convenient hot water supply that ran to the kitchen sink. You can just see it over at the top right of the picture. We are cooking with gas now baby.

Here's a closer shot. Top pipe is the street supply. The bottom is from the softener to the house with a separate line to the washer. A nice, clean installation if I do say so myself and massively easy to do with a little planning and the right materials.

Ok. The water supply goes like this. A 3/4 inch pipe supplies the house from the street. It runs into the water softener and from there, via another 3/4 inch pipe, to the rest of the house. Here's the connections on the back of the water softener. On the left is the street supply to the softener and on the right is the output to the house.

A closer view. At the top is the plastic screw in connector on the softener attached to a copper adapter that necks from 1 inch (softener) to 3/4 inch for the supply pipes. Attached to them is another Shark Bite with a screw in on one end and a push in connector on the other. A short length of Pex to an elbow that connects to the Pex that runs to those supply connectors I showed above.

Here's a side view. Simple no?

You can see the water softener attached to the house supply lines with the washing machine supply lines running along the wall. A simple connection and one I will have immediate access to in case of emergencies. Knock wood. The softener is a GE ( I know but I was stuck) that flows 9.5 gallons per minute and has a hard water bypass during regeneration which means I have water while it cleans the resin beads. It only recharges on demand, not on a set schedule but always starts at 0200 unless I manually over ride it. It's a modern device that will last us for a very long time. YMMV but this is what we needed and it should supply all our conceivable needs. Hi Angus!

And we're almost done. All that's left is hose connections for the washer and then moving it into the laundry room for hook up and testing. Oh, and maybe some drains. Here's the hose hook ups. Horribly simple. Shark Bites again with a threaded end, attached to a quarter turn valve and hose hook up. One for cold and one for hot. When I finally get around to dry wall I'll mount these a little better but for now all I care about is that they work and don't leak.

And just like that it's done. I tied the drain for both the washer and softener into the drain line that the old softener used (with a little fudging, trial and error and cursing). I managed to wrestle the washer into the room, hooked it up and admired my handiwork while I waited for Lu to come home and try it out. Yep, that's her machine and I am not allowed to touch it except for moving it as necessary. Everything turns on, fills, drains, exhausts and generally works like it's supposed to. I am so happy!


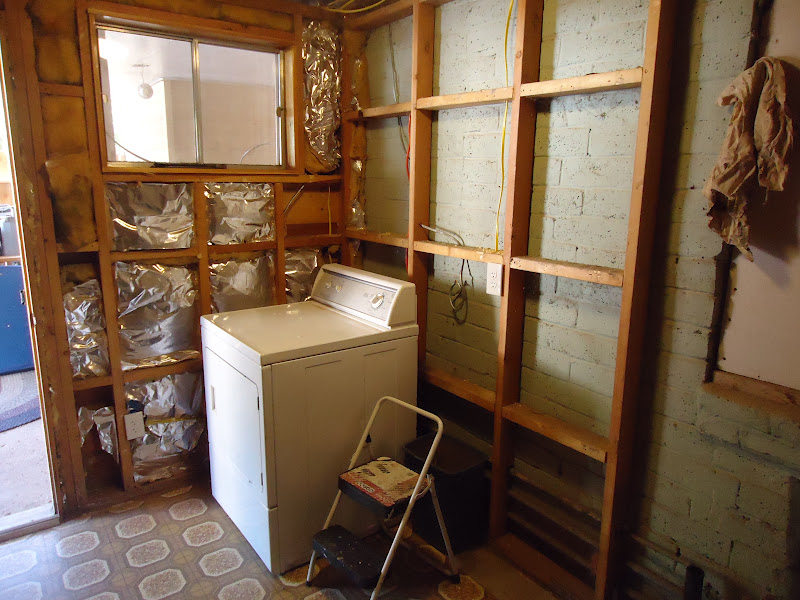
I even put in a little temporary shelf so she had some place to put laundry stuff. Does it look like a laundry room now? I still have a lot of work to do in here but for now it's as done as we need it.

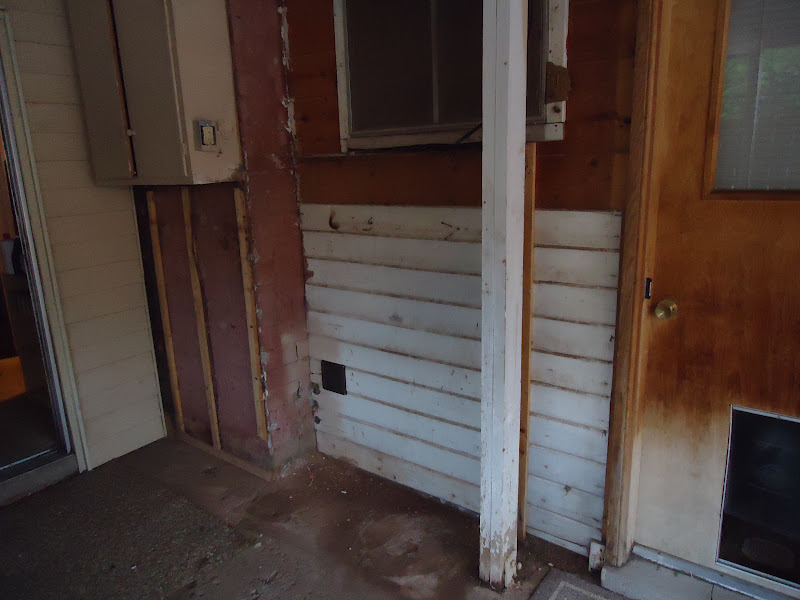
Remember that mess on the porch where the old softener was? Yep, all gone now. We removed an eyesore, opened up the porch and ensured that our water supply will not freeze up and maybe burst the pipes some day. That small dark square on the wall is the dryer vent.

Lu loves the new laundry room. It's just a few steps from the master bedroom. No more walks through the rain and sun and general nasty weather. Really, I'm embarrassed it took me this long. Sorry sweetheart. You've been doing my laundry for more than 30 years so shame on me for taking so long to do this.
What's next for this area? I'm glad you asked. This photo is dark but it should do. It's taken from the doorway in approximately the center of the house. It looks out to the porch. To the left is the master bedroom and to the right is the pantry. The center door leads to the new laundry room. I'm going to take that doorway and the wall on the left out and stubbing in a wall that will create a new hallway all the way from this doorway to the porch door, along the line shown. That will open up and enlarge the master bedroom and allow me to put in a new master bathroom. Oh yeah, I'll be doing more plumbing. A lot more. But I don't anticipate that until next summer. I still have a new roof on both the main house and the storage building to do before the weather turns.

All in all I am not unhappy with my work (and more importantly Lu is not unhappy with my work!). I managed to take what was an essentially unused room and turn it into a functional and useful part of the house with reasonable cost and reasonable effort. Total outlay, including all materials and the softener is well under a grand and the softener was 600 bucks. Don't let this kind of stuff put you off. Car Guy taught me a lot but the rest I got through makee learnee. The hardware guy and I are on a first name basis. Just plan as well as you can, don't be afraid to ask questions and understand that you'll be back and forth to the hardware store buying and returning stuff you got wrong the first time. It is not rocket science and it can be learned and mastered by us do it yourselfers. Hey, if I can do it anyone can do it!
Six