It took a while but the master bathroom is finally finished (mostly) which brings the master bedroom remodel to a merciful close. It's been a long haul, interrupted from time to time by events better forgotten. Lu loves it and in the end that was most important to me. I gave her a free hand in selecting materials, finishes, accoutrements, and layout. I think I told her to indulge herself more than once.
When I put in the drain plumbing I was planning for a standard sized pre-made shower pan. That didn't work out. The drain ended up a bit offset so I had to come up with a new plan. That was to make my own shower pan and it's a pain in the toockus. I used a 6 mil (I think it was) plastic liner for my water barrier. You can buy it in pre-cut sizes precisely for this use. Over that went a fairly dry mixed mortar as a base for tile and to bring the floor up to the level of the drain. I went just over a quarter inch shy of the drain lip to allow for the tile and thinset. You can see the edges of the vinyl liner against the walls. I later trimmed it to 2 inches above the base before installing the wall tile. The corners are the tough part. They take a lot of fussing to get them correct and to lay flat. PITA. The vinyl is my water barrier if we have leaks and the mortar acts as the base for the thinset to stick to. The base must slope from the walls and threshold toward the drain for water proper runoff. Mark your walls before you start laying mortar.
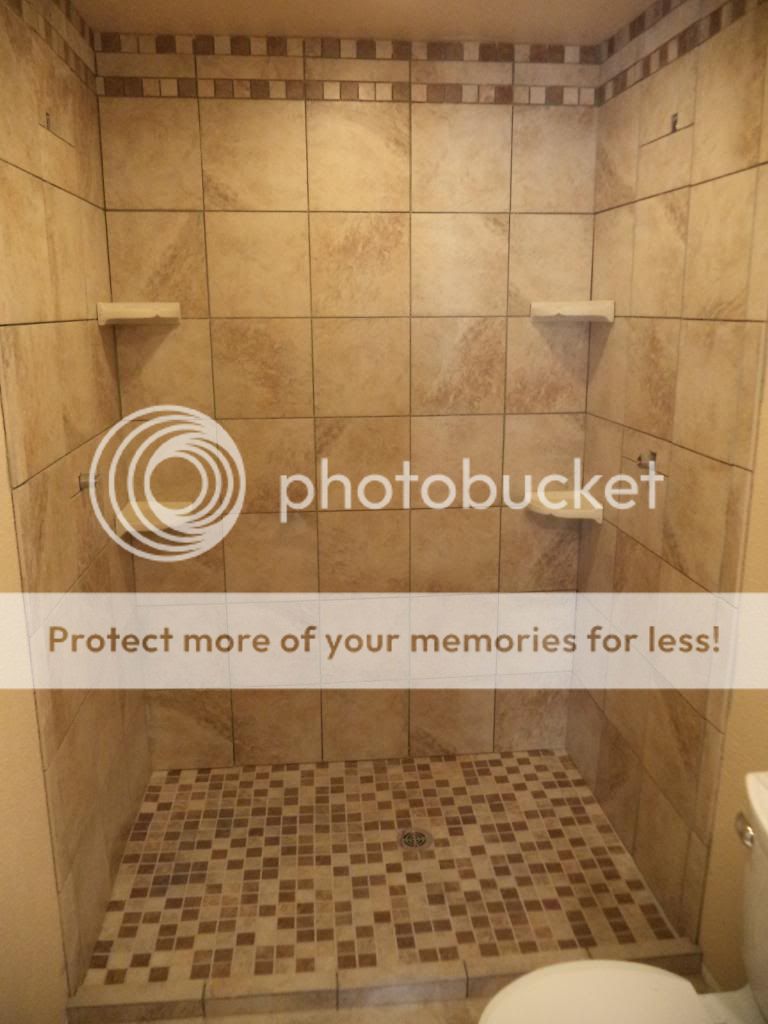
We went with a 2 inch floor tile over the pan. That brings the floor level up to the edge of the drain. I like the tile but it is spendy at 9 bucks per square foot. Luckily we didn't need too much. It's really kinda necessary on shower floors. Larger tiles just get too slick from soap and shampoo. The smaller tiles and more grout lines give better traction.
With the pan in and the floor tiles laid the walls were simple. We went with inset shampoo shelves and a nice trim pattern at the top of the walls. I had to make the threshold by hand.
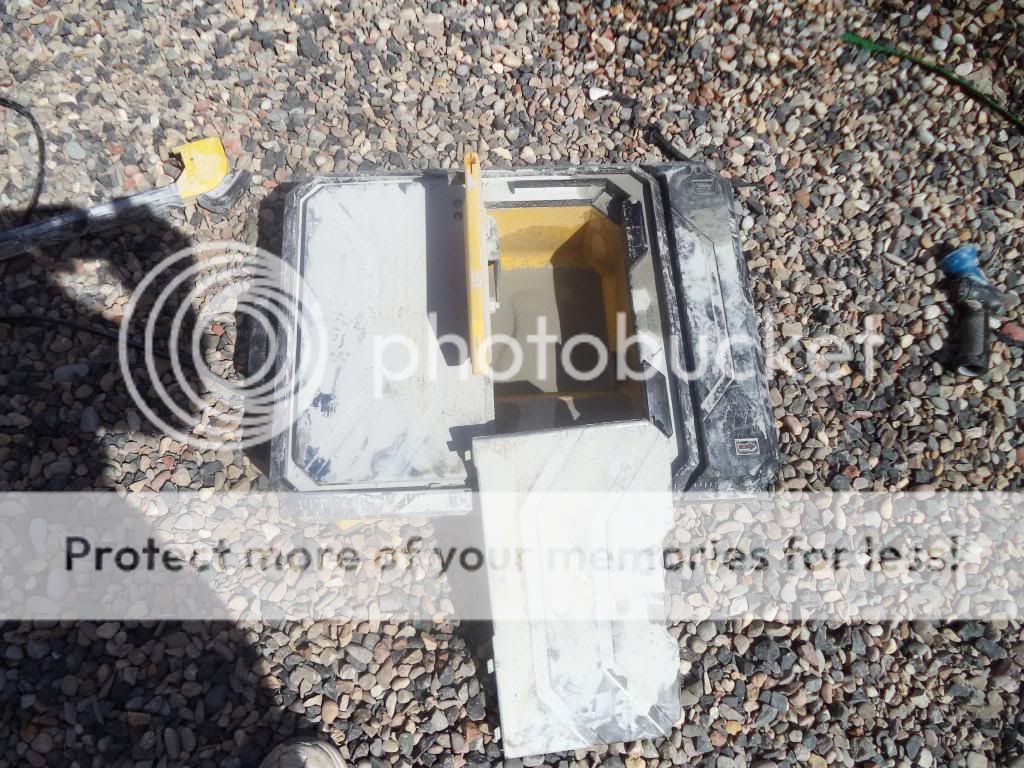
A quick note about tools. I'm a big believer in never buying a tool twice. Buy quality once and you're way ahead of the game. I broke that rule on a tile saw for this job. Car Guy built a nice saw a few years ago that I 'inherited'. Well, it gave up the ghost during the first bathroom remodel and I needed something for this one. I'm nearly done with tile work (knock wood) so I couldn't see dropping 4 or 5 hundred on an expensive saw so I bought this one for 90 bucks.
It's the store brand at one of the big box home improvement stores (rhymes with Dome Hepot). Instead of a constant water feed the blade runs through water in a trough in the base. The surface extends for large pieces and the fence is adjustable. It even comes with an adequate blade. It cut very well. I had absolutely no issues with it. I'd never buy it for commercial or even heavy DIY use but for occasional or modest cutting needs it's the bomb. I don't know how it'll hold up long term but at this point I'm very happy with it. It's also very light and pretty small. It fits perfectly on a shelf for easy storage. Recommended as long as you understand it's limitations and don't treat it like it's an industrial saw.
Lu grouting. She's a keeper that one. She laid all the tile and did all the grout. I did the cutting and water hauling. Muscle and Skill. Fire and Ice. Leather and Lace. I'd hire her out but I'm too greedy. I'm keeping her all for myself.
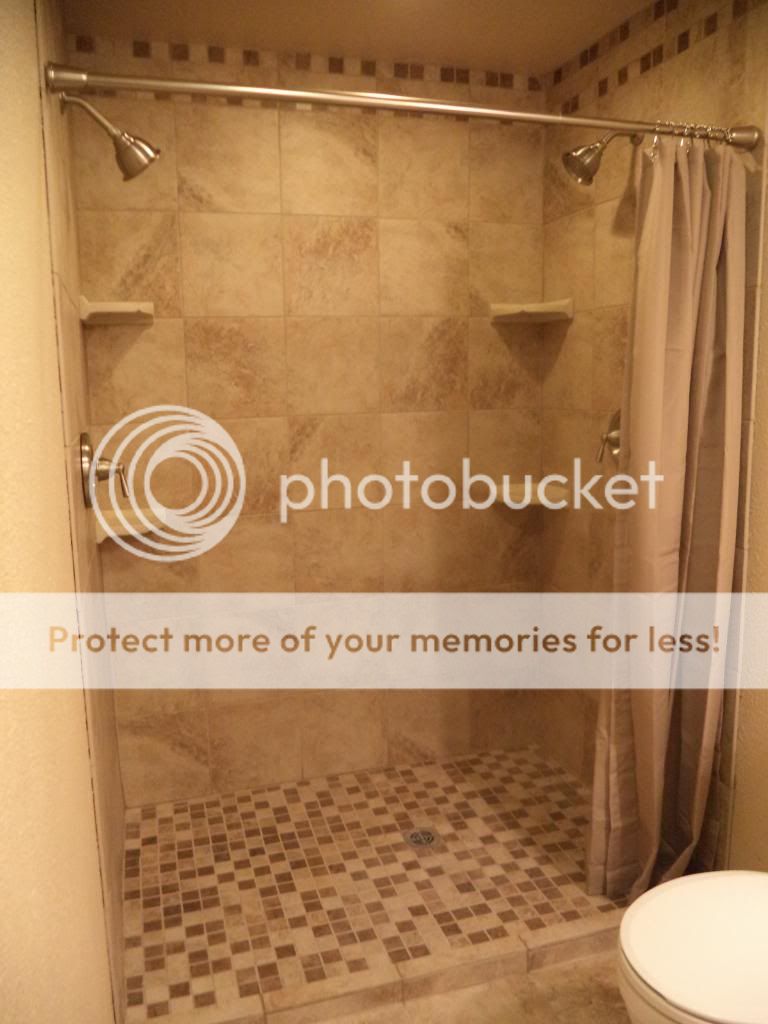
Grouted with the shower curtain installed. Lu has since put up a second curtain on the left. You can barely see the shower drain. I'm loving this shower.
And with various toiletries so you can see how those shelves work. Looks nice, no? And it works as expected. The twin shower heads means we can use the shower together (heh heh) and the size gives us room to spare. At 3+x5 it's the largest shower we've ever had and feels like pure luxury.
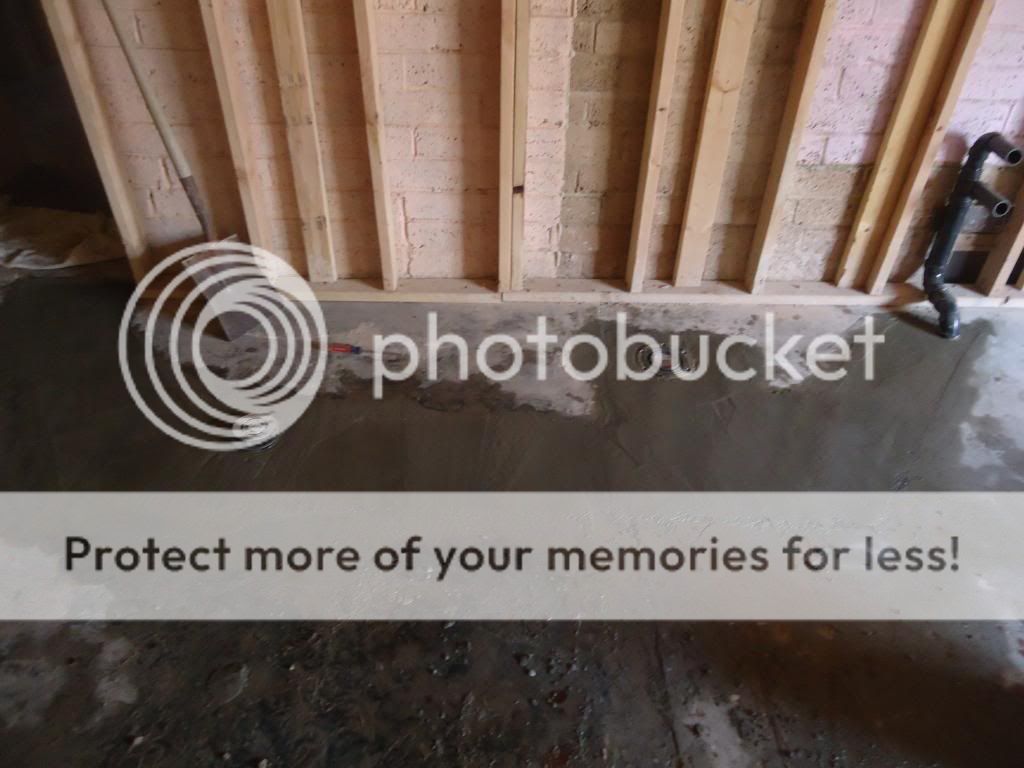
We are a very long way from this. On the left is the shower drain. In the center is the toilet and the right is the vanity. Man, this whole thing was a lot of work. Dreams and plans become reality.
I still have to hang some accoutrements for towels and what not but for all intents and purposes it's done. Final totals on the entire master bedroom suite remodel was $6600 of which $2000 was to correct structural issues. The bathroom ate up about $2500. All in all not bad considering how much we opened up the space and improved our livability. The room is much larger, we added in a walk in closet and a 10x5 bathroom where none had existed before. The house has gone from 2 bedrooms, 1 bathroom to 4 bedrooms and 2 bathrooms. That second bathroom was essential, especially considering the grandkids are going to be spending considerable time here every Summer (Thanks DO!). And that french door has been wonderful.
This remodel was a tough project, I won't lie. It took time, effort, sweat, money and not a little pain. But the end result is well worth the investment. $6600 bucks is nothing in the remodel world. This could have easily run into the tens of thousands to have done professionally. It may not be exactly professional quality but it's very good and should last us a lifetime. Lu is happy and in the end that is all I really care about. This is well within the reach of most DIYers. Just roll up your sleeves and jump in with both feet. If we can do it anyone can.
We have a little concrete to pour before the kids arrive in June but the big projects are done for the Summer. We'll take a few months off and then begin the next phase of the house remodel; the spare bedroom, living room and kitchen. But that's for another day. For now we'll sigh in relief and enjoy our blessings and the fruits of our labors.
Six


7 comments:
Nicely done! I'm sure you're both happy that it's done!!!
Thanks NFO. We are!!
It's Outstanding! Tile is not an easy thing to do, BTDT, kudos to the both of you! Love the big shower!
The 1200 square foot basement (shop and laundry now) has a bathroom with no shower. We're going to plumb one in, so that when the 1960's Pepto Bismol Pink bath on the main floor is gutted we have something to use. It;s a lot of work, but as your project shows, worth the time and attention to detail.
The 1200 square foot basement (shop and laundry now) has a bathroom with no shower. We're going to plumb one in, so that when the 1960's Pepto Bismol Pink bath on the main floor is gutted we have something to use. It;s a lot of work, but as your project shows, worth the time and attention to detail.
Thanks Brighid. It just feels so roomy!
Getting rid of the Pepto Pink bathroom Brigid? But it's so...Retro! You're definitely right though. It's a ton of work but so satisfying when you're done. Good luck you two.
I like the new bathroom. Nice job.
Post a Comment